Here’s a complete draft for you:
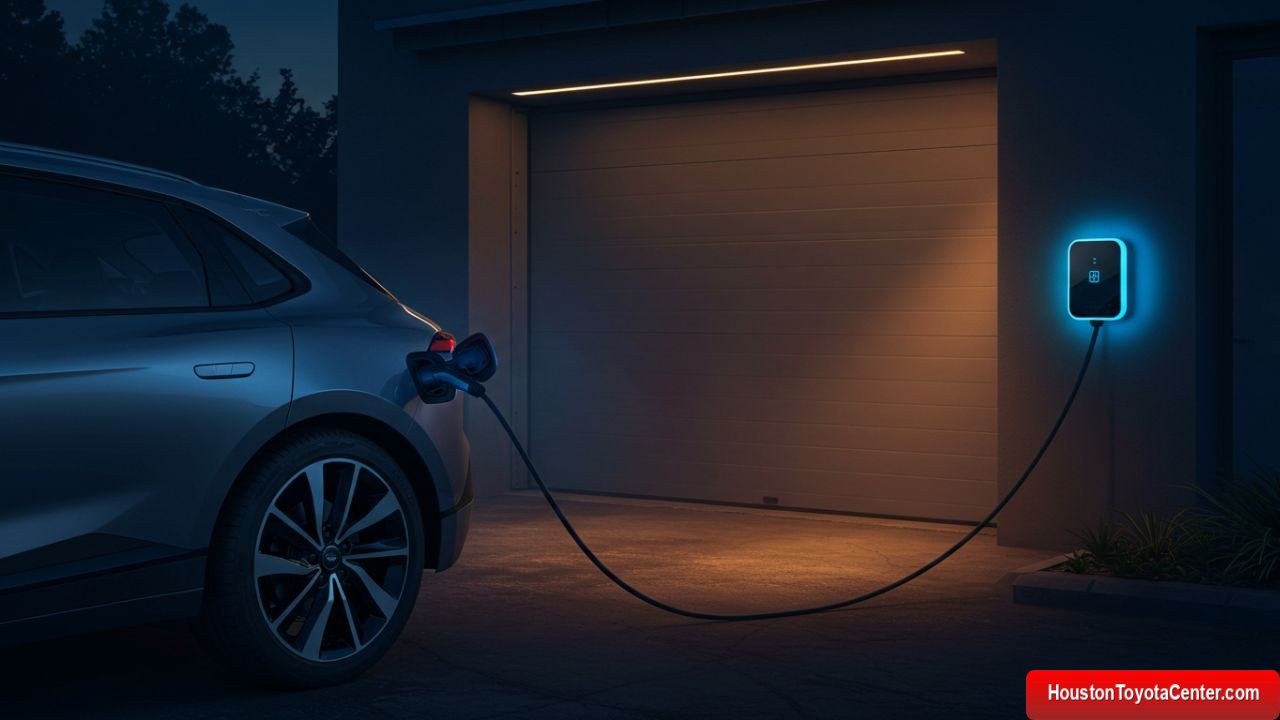
Charging at Home: Installing an EVSE (Level 2 Charger)
The transition to electric vehicles (EVs) has reshaped the way drivers think about fueling their cars. Instead of regular trips to the gas station, EV owners can conveniently “refuel” at home. However, charging an EV from a standard household outlet (Level 1 charging) can be frustratingly slow. That’s where EVSE (Electric Vehicle Supply Equipment), also known as a Level 2 charger, comes into play.
Installing an EVSE at home not only makes charging faster and more efficient but also adds value to your property and enhances your EV ownership experience. In this comprehensive guide, we’ll explore everything you need to know about installing a Level 2 charger—from costs and equipment to permits, safety, and long-term benefits.
Why Install a Level 2 Charger at Home?
Level 1 charging, which uses a standard 120-volt outlet, typically adds 2–5 miles of range per hour. For short commutes, this might be sufficient, but for most EV drivers, the slow charging rate becomes a limitation.
FREE: Quickly identify and understand problems with your vehicle 🚘
CLICK HEREBy contrast, a Level 2 charger (240-volt outlet) can add 20–60 miles of range per hour, depending on the vehicle and charger capacity. This dramatic difference transforms the EV experience:
- Convenience: Plug in at night and wake up to a fully charged car.
- Flexibility: Even after longer drives, you can recharge quickly.
- Future-proofing: As EV batteries get larger, Level 2 charging ensures you won’t be left behind.
Understanding EVSE (Level 2 Chargers)
EVSE is a technical term for what most people simply call a charging station. It manages the safe flow of electricity from your home’s electrical system to your vehicle. Here are the main features to consider:
- Charging Speed: Measured in kilowatts (kW). Most Level 2 chargers range between 7.2 kW to 19.2 kW.
- Connector Type: The J1772 connector is standard in North America (except Tesla, which uses its own connector, though adapters are available).
- Smart Features: Wi-Fi or Bluetooth connectivity, mobile apps, scheduling, energy tracking, and integration with solar or smart home systems.
- Cable Length: Commonly between 16–25 feet.
Step 1: Assess Your Electrical Capacity
Before purchasing and installing a charger, you must ensure that your home electrical system can handle the additional load.
Most EVSE Level 2 chargers require a dedicated 240-volt circuit, typically rated between 30 and 60 amps. Here’s a quick breakdown:
| Charger Power (kW) | Circuit Requirement | Approx. Range per Hour |
|---|---|---|
| 7.2 kW (32 amps) | 40-amp circuit | 20–25 miles |
| 9.6 kW (40 amps) | 50-amp circuit | 30–35 miles |
| 11.5 kW (48 amps) | 60-amp circuit | 35–40 miles |
| 19.2 kW (80 amps) | 100-amp circuit | 50–60 miles |
Tip: Check your home’s main electrical panel to see its capacity (usually 100A, 150A, or 200A service). If your panel is already near its limit, you may need an upgrade.
Step 2: Choose the Right Location
The placement of your charger can affect convenience, safety, and installation costs.
- Garage Installation: Most common, with protection from weather.
- Driveway/Outdoor Installation: Requires weatherproof equipment (NEMA-rated enclosures).
- Proximity to Panel: The closer the charger is to your main electrical panel, the lower the installation cost.
Step 3: Select the Best EVSE for Your Needs
When shopping for a charger, consider these factors:
- Power Output: Match it with your vehicle’s onboard charger. Some EVs max out at 7.2 kW, while others can accept up to 19.2 kW.
- Smart vs. Basic: Do you want Wi-Fi control, scheduling, and usage reports, or just a simple plug-and-charge unit?
- Hardwired vs. Plug-in:
- Hardwired: More permanent, required for high-power chargers.
- Plug-in (NEMA 14-50 outlet): Portable, easier to replace or move.
- Certification: Look for UL or ETL certification for safety.
Popular brands include ChargePoint, JuiceBox, Wallbox, Grizzl-E, and Tesla Wall Connector.
Step 4: Hire a Licensed Electrician
While DIY projects can be tempting, installing a Level 2 charger involves high-voltage electricity and local building codes. Hiring a licensed electrician ensures:
- Safe installation.
- Compliance with electrical codes.
- Proper permitting and inspection.
Most electricians will handle the permit application with your local city or county.
Step 5: Understand the Costs
The cost of installing a Level 2 charger can vary depending on several factors:
| Item | Typical Cost (USD) |
|---|---|
| EVSE Unit | $400 – $1,200 |
| Electrical Work | $300 – $2,000 |
| Panel Upgrade (if needed) | $1,000 – $3,000 |
| Permits & Inspection | $100 – $500 |
| Total | $800 – $6,000 |
Pro Tip: Many utilities and governments offer rebates or tax incentives to offset these costs.
Step 6: Permits and Inspections
Local jurisdictions often require a permit for electrical work. After installation, an inspector may visit to ensure:
- Proper circuit size.
- Grounding and bonding.
- Correct installation of conduit and wiring.
- Safe mounting and weatherproofing (if outdoors).
Skipping permits may cause problems when selling your home or filing insurance claims.
Safety Considerations
- Always use a dedicated circuit for your charger.
- Ensure proper grounding to avoid electrical hazards.
- If installed outdoors, make sure the unit is weather-resistant.
- Never use extension cords with EVSE.
Integration with Solar and Smart Homes
If you have solar panels, you can pair them with your EVSE for greener charging. Smart chargers can:
- Charge only when solar output is high.
- Schedule charging during off-peak electricity hours.
- Integrate with apps like Alexa or Google Home.
This not only saves money but also reduces your carbon footprint.
Troubleshooting Common Issues
- Charger Not Powering On: Check breaker and connections.
- Vehicle Won’t Charge: Inspect cable, connector, and software updates.
- Slow Charging: Ensure circuit isn’t overloaded; confirm vehicle limits.
- Wi-Fi Connectivity Problems: Reboot the unit or reset your router.
Long-Term Benefits of Installing an EVSE
- Daily Convenience: No more waiting at public stations.
- Increased Home Value: Buyers see EVSE as a premium amenity.
- Cost Savings: Charging at home is generally cheaper than public charging.
- Environmental Impact: Pairing with renewable energy reduces emissions.
Real-Life Example: Case Study
John, a Houston EV owner, installed a 40-amp Level 2 charger in his garage. His daily commute is 35 miles, and with his 9.6 kW charger, he replenishes his battery in just under two hours. Installation cost $1,200, but after a $500 utility rebate, his net cost was only $700.
Not only does John enjoy the convenience, but when he listed his home, buyers appreciated the ready-to-use EV infrastructure.
The Future of Home EV Charging
As EV adoption grows, at-home charging will become the norm. We may soon see:
- Bi-directional Charging (V2G): EVs powering homes during outages.
- Faster Residential Chargers: Pushing beyond 20 kW.
- Wireless Charging Pads: Eliminating cables entirely.
Investing in a Level 2 charger now puts you ahead of the curve.
Final Thoughts
Installing a Level 2 EVSE at home is one of the smartest decisions for any EV owner. It combines convenience, efficiency, and long-term savings while preparing your home for the electric future.
Whether you’re driving a Tesla, Nissan Leaf, Ford Mustang Mach-E, Toyota bZ4X, or any other EV, the right charger at home transforms your ownership experience.
By working with a licensed electrician, choosing the right equipment, and understanding the installation process, you can enjoy the full potential of electric driving—without the wait at public charging stations.
Leave a Reply