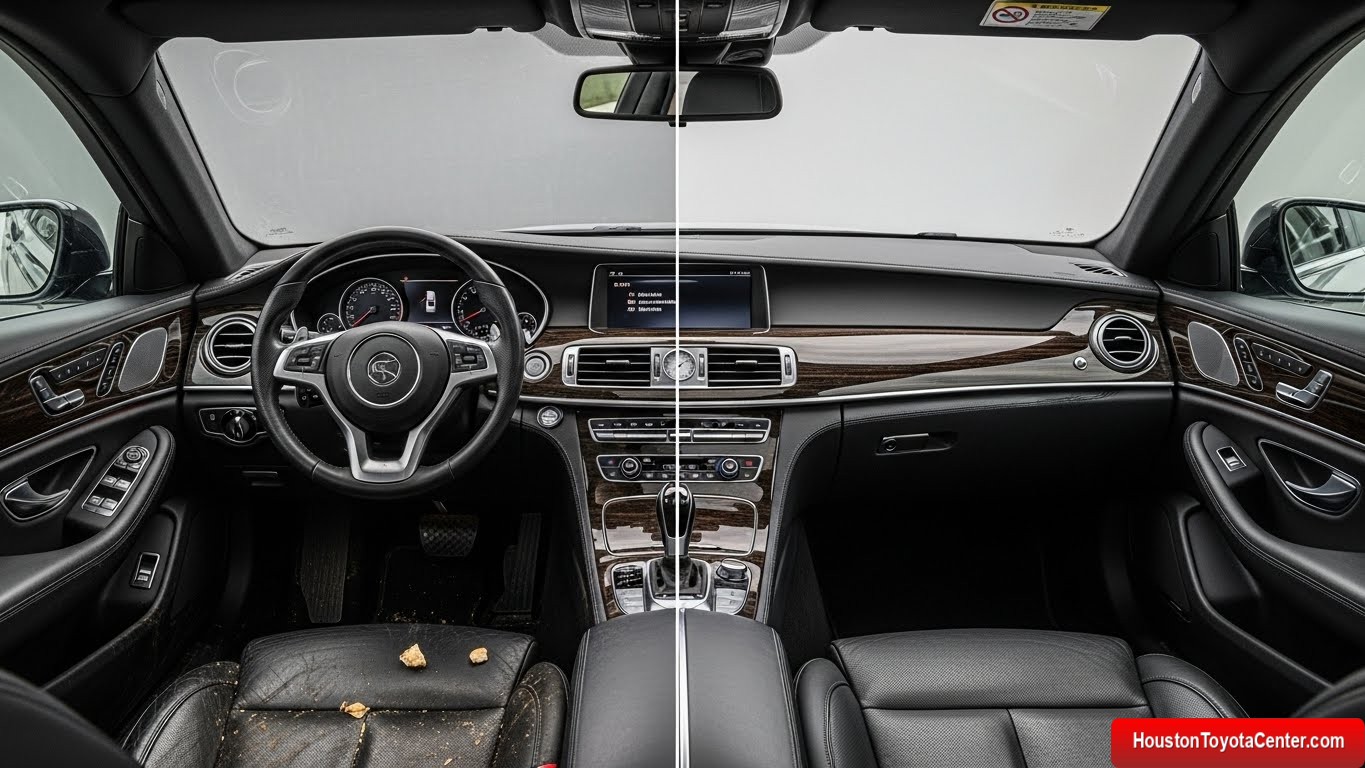
Keeping your car’s interior spotless isn’t just about aesthetics—it’s about comfort, hygiene, resale value, and even your health. Professional detailers know that a truly clean interior goes far beyond a quick vacuum and a wipe of the dashboard. It involves understanding materials, using the right tools, applying the correct techniques, and following a structured process that prevents damage while delivering showroom-level results.
This guide will walk you step by step through how to clean your car’s interior like a professional detailer, even if you’re working from your driveway. By the end, you’ll know how to deep-clean every surface, remove stubborn odors, protect materials, and maintain a pristine interior long-term.
Why Professional-Level Interior Cleaning Matters
Before diving into techniques, it’s important to understand why interior detailing deserves attention.
1. Health and Hygiene
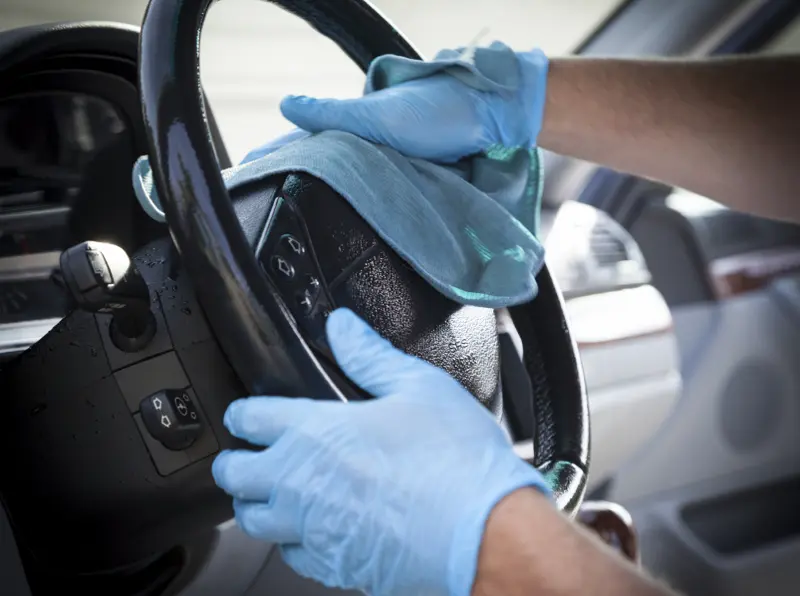
Car interiors trap dust, allergens, bacteria, food particles, pet hair, and moisture. Steering wheels, touchscreens, and door handles often carry more germs than a public restroom. Regular deep cleaning reduces allergens and improves air quality inside the vehicle.
FREE: Quickly identify and understand problems with your vehicle 🚘
CLICK HERE2. Comfort and Driving Experience
A clean interior improves focus and reduces stress. When everything smells fresh and feels clean, driving becomes more enjoyable—especially on long trips.
3. Material Longevity
Leather dries out, plastics fade, and fabrics stain permanently when neglected. Proper cleaning and conditioning extend the lifespan of every interior surface.
4. Higher Resale Value
A well-maintained interior can significantly increase your car’s resale or trade-in value. Buyers notice cleanliness immediately.
Understanding Your Car’s Interior Materials
Professional results start with knowing what you’re working on. Using the wrong product or technique can permanently damage interior surfaces.
Common Interior Materials
| Material | Found On | Key Considerations |
|---|---|---|
| Fabric | Seats, carpets, headliners | Absorbs stains and odors |
| Leather | Seats, steering wheel | Requires gentle cleaners & conditioning |
| Vinyl | Dashboards, door panels | Can fade or crack without protection |
| Plastic | Consoles, trim | Scratches easily |
| Rubber | Floor mats, pedals | Needs degreasing |
| Glass | Windows, mirrors | Shows streaks easily |
Professional Tools You’ll Need
You don’t need a full detailing shop, but the right tools make a massive difference.
Essential Interior Cleaning Tools
- Vacuum cleaner (with crevice and brush attachments)
- Soft and medium detailing brushes
- Microfiber towels (multiple, color-coded if possible)
- Interior cleaner (multi-surface)
- Leather cleaner and conditioner (if applicable)
- Fabric cleaner or upholstery shampoo
- Glass cleaner (ammonia-free)
- Steam cleaner (optional but powerful)
- Compressed air or detailing air gun (optional)
Step-by-Step: How Professionals Clean a Car Interior
Step 1: Remove Everything from the Interior
Professional detailers always start with a completely empty cabin.
- Remove floor mats
- Take out trash and personal items
- Empty door pockets, center console, and seat-back compartments
This ensures no area is missed and prevents dirt from spreading.
Step 2: Thorough Vacuuming (The Foundation of Everything)
Vacuuming is not a quick task—it’s the backbone of interior detailing.
Pro Vacuuming Technique:
- Start from the top (seats and dashboards) and work downward.
- Use crevice tools between seats, rails, and console edges.
- Vacuum carpets in multiple directions to lift embedded dirt.
- Remove seats (optional but professional-level) for a full deep clean.
Tip: Lightly brushing fabric while vacuuming helps release trapped debris.
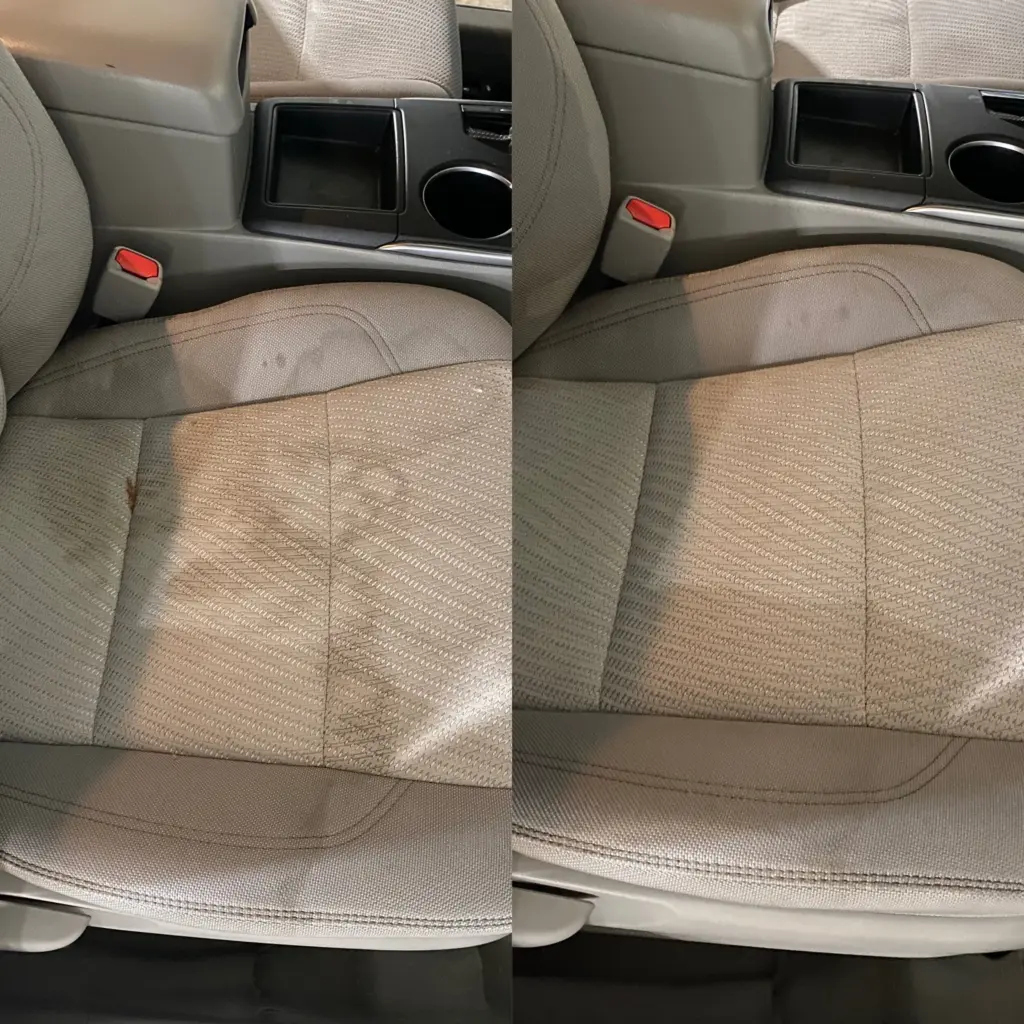
Step 3: Cleaning Fabric Seats and Carpets
Fabric is one of the hardest materials to clean properly.
Spot Cleaning
- Spray fabric cleaner lightly—never soak.
- Agitate with a soft brush.
- Blot with a microfiber towel (don’t rub aggressively).
Deep Cleaning (Professional Method)
- Use a wet/dry vacuum or extractor.
- Apply diluted upholstery cleaner evenly.
- Agitate gently.
- Extract moisture immediately to avoid mold.
Important: Always allow full drying with doors open or fans running.
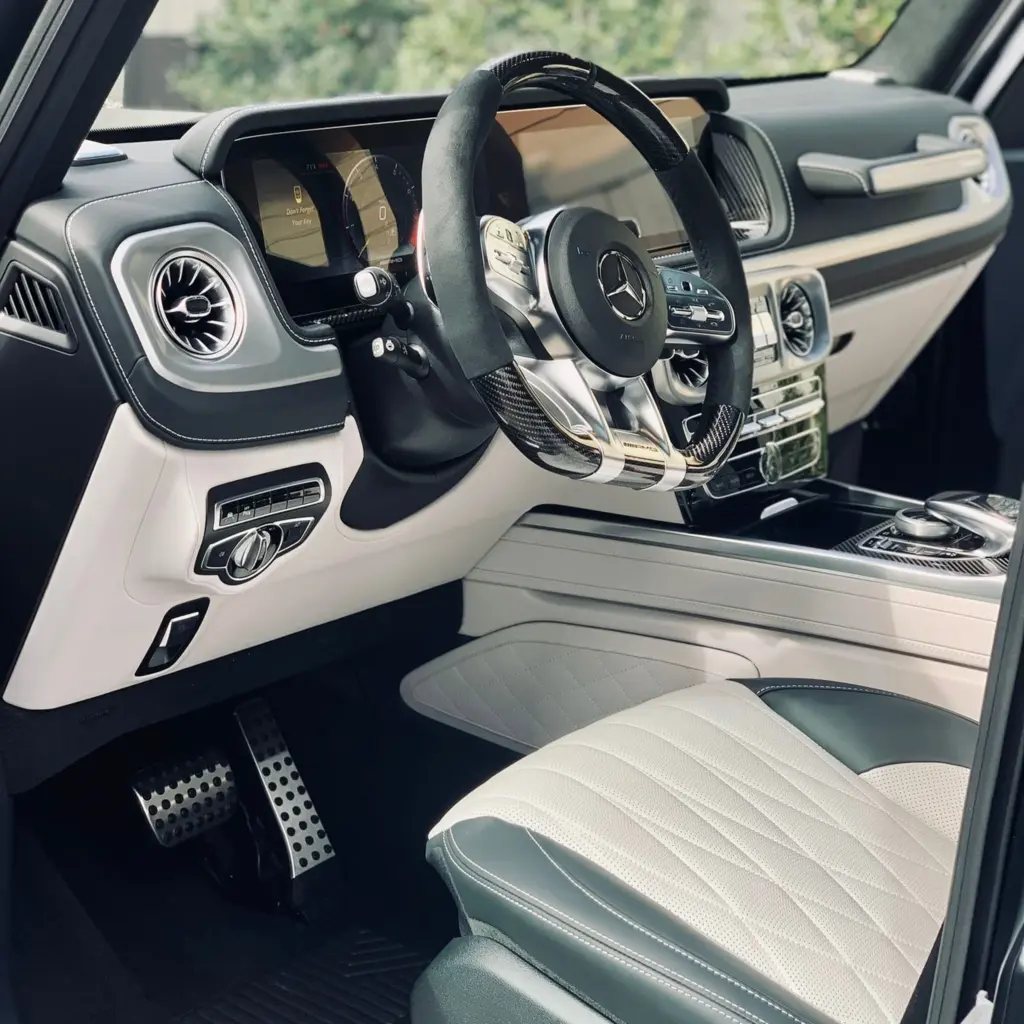
Step 4: Leather Seats – The Pro Way
Leather requires patience and care.
Cleaning
- Apply leather cleaner to a microfiber or soft brush.
- Gently agitate in circular motions.
- Wipe residue with a clean towel.
Conditioning
- Apply leather conditioner sparingly.
- Allow absorption for several minutes.
- Buff lightly for a natural finish.
Avoid: Household cleaners, alcohol, or harsh scrubbing—they dry and crack leather.
Step 5: Dashboard, Console, and Hard Surfaces
Dashboards collect dust, oils, and UV damage.
Professional Method:
- Spray cleaner onto microfiber—not directly on surfaces.
- Use detailing brushes for vents, buttons, and seams.
- Wipe clean with a dry towel.
For high-touch areas (steering wheel, gear shifter), use a mild cleaner and ensure no residue remains.
Step 6: Door Panels and Armrests
These areas collect skin oils and dirt.
- Clean using interior cleaner and soft brush.
- Pay attention to stitching and seams.
- Finish with a light protectant if desired.
Step 7: Floor Mats (Often Overlooked)
Carpet Mats
- Vacuum thoroughly.
- Spray carpet cleaner.
- Brush aggressively.
- Rinse lightly and extract or air-dry fully.
Rubber Mats
- Remove loose dirt.
- Scrub with all-purpose cleaner.
- Rinse and dry.
- Apply rubber protectant for a matte finish.
Step 8: Interior Glass – Streak-Free Finish
Interior glass is tricky due to outgassing from plastics.
Pro Tips:
- Use two microfiber towels (one wet, one dry).
- Clean in vertical strokes inside, horizontal outside—this helps identify streaks.
- Avoid ammonia-based cleaners (damages tint).
Step 9: Headliner (Extreme Caution)
Headliners are delicate and glued.
- Never soak.
- Use minimal cleaner.
- Dab gently with microfiber.
- Allow to air dry.
Step 10: Eliminate Odors Like a Professional
Masking odors isn’t enough.
Professional Odor Removal:
- Deep clean carpets and seats.
- Replace cabin air filter.
- Use baking soda or charcoal overnight.
- Steam vents lightly.
- Use ozone generator (advanced users only).
Steam Cleaning: The Professional Secret Weapon
Steam cleaning sanitizes, lifts grime, and reduces chemical use.
Best Uses:
- Vents
- Cup holders
- Seat seams
- Door handles
Caution: Keep steam moving—never linger on one spot.
Protecting Interior Surfaces (The Step Most People Skip)
Protection keeps your interior cleaner longer.
UV Protection
- Use non-greasy UV protectants on dashboards and trims.
Fabric Protection
- Apply fabric guard to resist spills and stains.
Leather Protection
- Condition every 2–3 months.
Maintenance Schedule (Professional Standard)
| Task | Frequency |
|---|---|
| Light vacuum | Weekly |
| Wipe high-touch areas | Weekly |
| Full interior clean | Monthly |
| Leather conditioning | Every 2–3 months |
| Deep fabric extraction | 2–4 times per year |
Common Interior Cleaning Mistakes to Avoid
- Using household cleaners
- Over-wetting fabrics
- Scrubbing leather aggressively
- Ignoring drying time
- Applying greasy shine products
How Long Does Professional Interior Cleaning Take?
- Basic clean: 1–2 hours
- Deep professional detail: 4–8 hours
Patience equals results.
Final Pro Tips for a Showroom Interior
- Work in shade, never direct sunlight
- Use multiple microfiber towels
- Clean from top to bottom
- Less product is more
- Consistency beats intensity
Conclusion
Cleaning your car’s interior like a professional isn’t about expensive tools—it’s about knowledge, technique, and attention to detail. When done correctly, your car doesn’t just look clean—it feels new, smells fresh, and stays protected for years.
With the steps outlined in this guide, you can confidently transform your vehicle’s interior into a professional-grade space, whether you’re preparing for resale or simply want the best driving environment possible.
Leave a Reply